Bike Maintenance at Home: DIY vs. Calling a Pro
TL;DR: You should absolutely maintain your bike at home. Checking tire pressure, lubing your chain, and doing basic inspections will keep you rolling and save real money. But there is a clear line between DIY maintenance and professional repair work. Cross that line without the right tools or experience, and you risk damaging your bike or, worse, getting hurt. This guide breaks down exactly what to do yourself, what to leave to a mechanic, and how to build a schedule that keeps your bike running right year-round.
I spent twelve years as a mobile bike mechanic in Denver before switching over to guiding full-time. In those years, I worked on thousands of bikes. Road bikes, mountain bikes, commuters, cargo rigs, e-bikes. I've seen bikes that were beautifully maintained by their owners. I've also seen bikes that were destroyed by well-meaning DIY attempts gone wrong.
Here is the truth: some bike maintenance is genuinely simple. Anyone can do it. You don't need special skills, and the tools cost less than a nice dinner out. But some work requires specialized tools, real training, and experience that comes from doing the same repair hundreds of times. Knowing the difference between those two categories will save you money, keep your bike in better shape, and keep you safer on the road or trail.
This isn't about scaring you away from working on your own bike. I want you to get your hands dirty. I want you to understand how your bike works. But I also want you to know when it's time to call someone who does this for a living.
Weekly Maintenance Every Rider Should Do
If you ride regularly, there are a few things you should be doing every single week. None of them require special tools. All of them prevent problems.
Check Your Tire Pressure
This is the single most impactful thing you can do for your bike. Low tire pressure causes pinch flats, wears your tires faster, makes pedaling harder, and affects handling. High tire pressure reduces grip and makes for a harsh ride.
Get a floor pump with a pressure gauge. They cost $30 to $50 and last for years. Check the sidewall of your tire for the recommended pressure range, and inflate to the middle of that range. If you ride on pavement, aim toward the higher end. If you ride on gravel or dirt, aim toward the lower end.
A quick check you can do: squeeze the tire firmly with your thumb and forefinger before every ride. You'll quickly learn what properly inflated feels like. But use the gauge at least once a week to stay honest.
Lube Your Chain
A dry chain is a noisy chain, and noise means friction. Friction means wear. Wear means replacing your chain, cassette, and chainrings sooner than you need to.
Apply a few drops of chain lube to each link while slowly backpedaling. Let it sit for a minute, then wipe off the excess with a clean rag. That last step matters. Excess lube attracts dirt, which turns into grinding paste that eats your drivetrain.
Use wet lube if you ride in rain or mud. Use dry lube if you ride in dry, dusty conditions. If you're not sure, dry lube is the safer default for most riders.
Do a Quick Visual Inspection
Before you ride, take thirty seconds to look over your bike. You're checking for obvious problems:
- Tires: Any cuts, bulges, or embedded glass or thorns?
- Wheels: Do they spin freely without rubbing the brake pads?
- Quick releases or thru-axles: Are they tight?
- Brakes: Squeeze each lever. Do you get firm resistance before the lever reaches the bar?
- Chain: Does it look reasonably clean? Is it sitting on the gears properly?
That's it. Thirty seconds. This is not a deep inspection. You're looking for anything that's obviously wrong. In the shop we see this all the time: a rider comes in with a flat caused by a piece of glass that was visible in the tire for weeks. A quick look would have caught it.
Monthly Checks That Prevent Bigger Problems
Once a month, spend twenty to thirty minutes giving your bike a closer look. These checks catch wear before it turns into a breakdown.
Brake Pad Inspection
Look at your brake pads. If you have rim brakes, you can see the pads clearly. They should have visible grooves or texture on the contact surface. If the surface is smooth or the pad is worn down to the wear line, replace them. Rim brake pads are cheap (under $15 for a set) and straightforward to swap.
If you have disc brakes, you'll need to look through the caliper or remove the wheel. The pads should have at least 1mm of material on the backing plate. If you can see mostly backing plate and very little pad material, it's time.
One of the most common issues I saw as a mechanic was riders running brake pads down to metal. At that point you're not just replacing pads. You're replacing rotors or rims too. A $15 problem becomes a $75 to $150 problem.
Tire Wear and Damage
Look more carefully than your weekly glance. Check the tread for wear indicators, which are small divots or lines molded into the rubber. If those indicators are flush with the tire surface, the tire is done.
Run your fingers along the sidewalls. Feel for cuts, cracks, or thin spots. Check for embedded debris that might not have caused a flat yet but will eventually work its way through.
On road tires, look for a flat spot on the center of the tread. That means the tire is wearing out. On knobby tires, look for rounded or torn knobs, especially the side knobs that handle cornering.
Cable Tension
If you have mechanical brakes or derailleurs (cable-operated, not hydraulic or electronic), check your cable tension. Shift through all your gears. Does the chain move smoothly to each gear, or does it hesitate, skip, or refuse to shift into certain gears?
Squeeze your brake levers. Do the brakes engage firmly with about a finger-width of lever travel, or do you have to pull the lever almost to the handlebar before anything happens?
Cable stretch is normal, especially on newer bikes. You can adjust barrel adjusters yourself. Turn the barrel adjuster counterclockwise (away from you) in small increments to increase cable tension. A quarter turn at a time. Test after each adjustment.
If barrel adjuster tweaks don't solve the problem, the cables may need replacement. That's a job I'd recommend leaving to a mechanic if you haven't done it before. Routing cables correctly and setting limit screws requires some experience.
Bolt Check
Grab a set of hex wrenches and check the bolts on your stem, handlebars, seatpost, seat clamp, and bottle cage mounts. You're not cranking on them. You're checking that they're snug.
If your bike has a carbon frame, carbon handlebars, or a carbon seatpost, use a torque wrench. Over-tightening carbon components can cause catastrophic failure. This isn't a scare tactic. I've seen cracked carbon steerer tubes from over-torqued stems. A basic torque wrench costs $25 to $40 and is worth every penny if you have carbon parts.
When to Call a Professional
Here's where the honest conversation happens. The tasks below require specialized tools, specialized knowledge, or both. Attempting them without the right setup risks damaging your bike or creating a safety hazard.

Drivetrain Overhaul
Cleaning and lubing your chain at home is great. But when your drivetrain starts skipping under load, making grinding noises, or shifting poorly even after cable adjustment, you need a professional assessment.
A good mechanic will measure your chain for stretch with a chain checker tool, inspect your cassette teeth for shark-finning (the telltale hook shape that means the cassette is worn out), and check your chainrings. They'll determine whether you need a chain, a cassette, chainrings, or all three. Getting this diagnosis wrong means spending money on parts you don't need or, worse, putting a new chain on a worn cassette where it will skip dangerously under hard pedaling.
Drivetrain work also involves setting derailleur limit screws, B-tension, and cable tension precisely. These adjustments interact with each other. Change one, and you often need to tweak the others. A mechanic who does this daily can dial it in quickly. A first-timer can spend hours chasing their tail.
Hydraulic Brake Service
This is one I feel strongly about. Your brakes are the most important safety system on your bike. Full stop.
Hydraulic brakes require bleeding when air gets into the lines, which causes a spongy lever feel. The bleed process requires brand-specific kits (Shimano, SRAM, and other manufacturers each use different tools and fluids), the correct fluid (DOT fluid and mineral oil are not interchangeable, and using the wrong one destroys your seals), and a methodical process to eliminate every air bubble.
I've had customers bring me bikes with hydraulic brakes they tried to bleed themselves. Air still in the lines. Wrong fluid in the system. Contaminated pads that needed replacement. What should have been a $40 to $60 bleed turned into $150 or more in repairs.
If your hydraulic brakes feel spongy, if the lever pulls to the bar, or if you see fluid leaking at any fitting, call a mechanic.
Wheel Truing
A slightly wobbly wheel might seem like something you can fix with a spoke wrench and a YouTube video. And technically, you can make small adjustments. But wheel truing is genuinely skilled work.
Every spoke in a wheel is connected to every other spoke through the rim. Tighten one spoke, and you affect the tension on the spokes around it. A mechanic with a truing stand and a tension meter can bring a wheel back to true while maintaining even tension across all spokes. Even tension is what prevents spokes from breaking.
An uneven true job -- where the wheel looks straight but spoke tension is all over the map -- leads to broken spokes down the road. Usually at the worst possible time. On a long ride. Or on a descent.
If you have a small wobble, a mechanic can fix it in minutes. If you have a significant wobble or broken spokes, the wheel may need a full rebuild. Either way, this is professional territory.
Bottom Bracket and Headset Service
These are the bearings that let your cranks spin and your fork turn. When they go bad, you'll feel creaking, grinding, or play (looseness) in the cranks or handlebars.
Bottom bracket and headset service requires press-fit tools or specific threading tools depending on the standard your bike uses. And there are many standards. BSA, PF30, BB86, T47, PF92, and more for bottom brackets alone. Headsets have their own set of standards.
A mechanic knows which standard your bike uses, has the right tools, and knows the correct torque specifications. They can also diagnose whether the creaking is actually coming from the bottom bracket or from somewhere else entirely. In the shop we see this all the time: a rider is sure their bottom bracket is bad, but the creak is coming from a loose saddle rail, a dry seatpost, or pedal threads that need grease.
Suspension Service
If you ride a mountain bike with a suspension fork or rear shock, those components need periodic service. Lower leg service (cleaning and re-oiling the seals) should happen every 50 to 100 hours of riding. A full damper service should happen annually or every 200 hours.
Suspension service requires specific tools, specific oils, specific seal kits, and knowledge of the internal workings of each damper. Fox, RockShox, Marzocchi, DVO, and other brands all have different service procedures. Some shops specialize exclusively in suspension work.
Neglecting suspension service doesn't just degrade your ride quality. It can damage the internals to the point where a $150 service becomes a $400 or $500 rebuild.
E-Bike Electrical and Motor Systems
This one is non-negotiable. Do not attempt to work on your e-bike's motor, battery, controller, or wiring yourself.
E-bike electrical systems involve high-voltage components that can cause serious injury. The diagnostic process requires manufacturer-specific software and tools. Warranty coverage almost always requires professional service.
If your e-bike has an electrical issue -- error codes, reduced power, charging problems, display malfunctions -- take it to a mechanic who specializes in e-bikes. This is not a cost-saving area.
The Real Cost of Skipping Professional Service
I want to share a few situations I saw repeatedly during my years as a mobile mechanic. These aren't rare edge cases. They're patterns.
The worn cassette cascade. A rider notices their chain is noisy and skipping. They buy a new chain and install it themselves. The new chain skips worse than the old one because the cassette teeth are worn to match the old stretched chain. Now they need a new cassette too. But they've already worn a few teeth into the new chain by riding on the bad cassette. So that new chain won't last as long either. If they'd brought it to a mechanic first, the mechanic would have caught the worn cassette before the new chain went on.
The brake pad surprise. A commuter rides their disc brakes until the pads are completely gone. Metal backing plate on rotor, every ride. By the time they bring it in, both rotors are scored and need replacement. Rotors are $30 to $60 each. Total bill: pads plus two rotors plus labor. A $20 problem became a $150 problem because they didn't check their pads monthly.
The creaky bottom bracket that wasn't. A rider is convinced their bottom bracket is shot. They order a new one online, try to install it themselves, and strip the threads in their frame. Now instead of a $40 bottom bracket service, they're looking at frame repair or a new frame. The original creak? It was a dry seatpost. Five seconds of grease would have fixed it.
The home wheel true. A mountain biker tries to true their own wheel. Gets it looking straight but doesn't have a tension meter. Three rides later, two spokes break on a descent because the tension was wildly uneven. The wheel is now potato-chipped beyond repair. A new wheel costs $150 to $400 or more.
These stories aren't meant to scare you away from your bike. They're meant to illustrate a point: professional mechanics don't just fix things. They diagnose correctly before turning a wrench. That diagnostic skill is what you're really paying for.
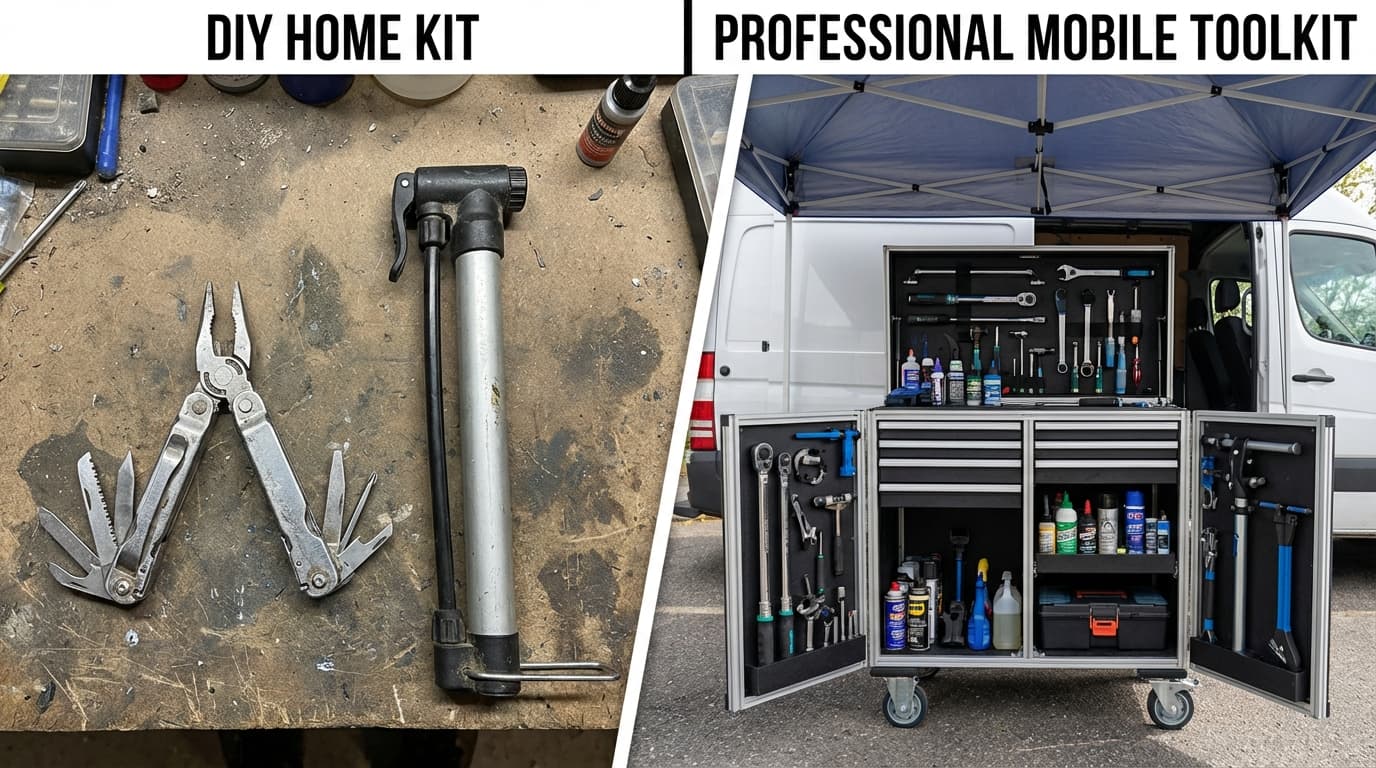
DIY Tools vs. Professional Service: A Cost Comparison
Let's talk numbers. Understanding the economics helps you make smarter decisions about where to spend your money.
Basic Home Toolkit: $50 to $100
Here's what you need for weekly and monthly maintenance:
- Floor pump with gauge: $30 to $50
- Hex wrench set (2mm to 8mm): $10 to $20
- Chain lube: $8 to $12
- Tire levers and spare tube: $10 to $15
- Clean rags: $5
- Torque wrench (if you have carbon): $25 to $40
This toolkit pays for itself within a few months of doing your own basic maintenance. It's a no-brainer investment for any regular rider.
Professional Service Costs
- Basic tune-up: $75 to $100. Covers brake and derailleur adjustment, tire and wheel check, bolt inspection, chain wear measurement, and a general safety review.
- Comprehensive tune-up: $125 to $175. Adds cable and housing inspection, bearing checks, detailed drivetrain assessment, and minor truing.
- Full overhaul: $200 to $350+. Complete disassembly, bearing service or replacement, new cables and housing, deep cleaning, and full reassembly with proper torque specs. This is the "make it like new" service.
The Value Proposition
Here's how I think about it. Your basic toolkit handles 80% of the maintenance your bike needs by frequency. Tire pressure, chain lube, visual checks, brake pad monitoring. You do these tasks all the time, and they're simple.
But a professional tune-up twice a year catches the other 20%. The chain stretch you can't see. The spoke tension you can't feel. The bearing wear that hasn't started making noise yet. The cable fraying inside the housing where you can't inspect it.
That $75 to $100 tune-up is cheap insurance. A mechanic's trained eye catches problems when they're small and inexpensive to fix. Skip the tune-ups, and those small problems grow into expensive repairs.
Think of it like dental care. You brush your teeth every day. That's your DIY maintenance. But you still go to the dentist twice a year because they catch cavities before they become root canals.
Building a Maintenance Schedule
Here's a practical schedule you can follow. Adjust based on how much you ride and your conditions. If you ride in rain, mud, or dust, compress these timelines.
Weekly (15 minutes)
- Check tire pressure and inflate as needed
- Lube chain (after wet rides, do this immediately)
- Quick visual inspection: tires, wheels, brakes, chain
- Wipe down frame and chain if visibly dirty
Monthly (30 minutes)
- Inspect brake pads for wear
- Check tires for cuts, embedded debris, and tread wear
- Test shifting through all gears
- Squeeze brake levers and check engagement point
- Check bolts on stem, bars, seatpost, and seat clamp
- Clean chain more thoroughly with a rag and re-lube
Quarterly (Professional Service Recommended)
- Professional tune-up: Derailleur adjustment, brake adjustment, wheel true check, chain wear measurement
- Clean drivetrain thoroughly (or have the mechanic do it)
- Inspect cables and housing for fraying or contamination
- Check bearing play in headset and bottom bracket
- Inspect tire sidewalls and consider replacement if worn
For riders who average 50 to 100 miles per week, a quarterly professional check keeps everything in good order. If you ride less, twice a year is sufficient. If you ride more or in harsh conditions, monthly professional check-ins aren't unreasonable.
Annually (Professional Overhaul Recommended)
- Full overhaul for bikes ridden year-round: disassembly, bearing service, cable replacement, deep clean
- Suspension service for mountain bikes (lower leg and full damper per manufacturer intervals)
- Replace tires and brake pads if not already done
- Replace bar tape or grips
- Assess frame and fork for damage or fatigue
An annual overhaul is especially important for commuter bikes that see daily use in all weather conditions. Salt, rain, and road grime take a toll on every component. A full teardown and rebuild once a year adds years to your bike's life.
How to Find the Right Mechanic
Not all mechanics are equal, and the right one for your bike matters. Here's what to look for:
- Experience with your type of bike. A road bike specialist might not be the best choice for your full-suspension mountain bike, and vice versa. Ask about their background.
- Transparency about pricing. A good mechanic will give you a clear estimate before starting work and call you if they find additional issues.
- Willingness to educate. The best mechanics I've worked with take a minute to show you what they found and explain why it matters. That knowledge makes you a better bike owner.
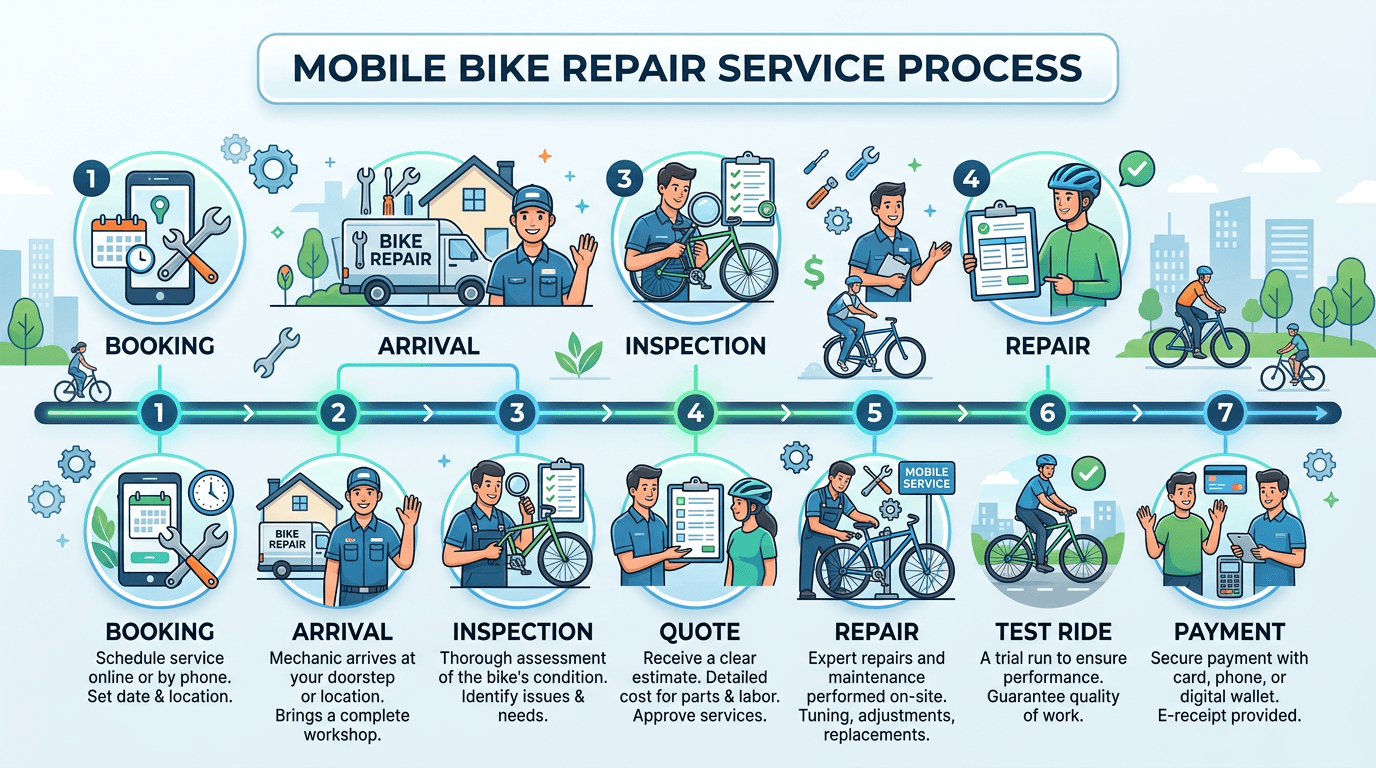
- Mobile mechanics. If you don't have a great shop nearby, or if you don't want to deal with loading your bike in a car and waiting days for shop turnaround, a mobile mechanic comes to you. Same professional service, at your home or office.
Finding a qualified mechanic in your area is straightforward. Search for a mobile bike mechanic near you and you can have a professional at your door, often the same day or next day.
The Bottom Line
Bike maintenance at home is real, and you should do it. The weekly and monthly tasks I've outlined here are simple, fast, and effective. They keep your bike rideable, they save you money, and they help you understand your machine.
But there's a clear boundary. When work involves specialized tools, safety-critical systems, or diagnostic judgment that comes from years of experience, a professional mechanic is not a luxury. They're a smart investment.
Do the basics yourself. Build good habits. Keep your toolkit stocked and your schedule consistent. And when something is beyond your skills or tools, don't hesitate to call a pro.
Your bike will last longer. Your rides will be better. And you'll spend less money in the long run by fixing problems when they're small instead of after they've cascaded into something expensive.
Ready to find a qualified mechanic in your area? Search for a mobile bike mechanic near you or browse mobile bike mechanics across North America. Professional service, at your door, on your schedule.